East. Fast. Delicious. Perfect for weeknight meals. Spaghetti with sun-dried tomatoes and pecorino romano can be ready in less than 30 minutes. Or serve a smaller portion to start at a dinner party. Like they do in Italy. Primi and secondi. It’s a nice way to eat.
This is a riff on aglio e olio – the Neapolitan classic pasta with garlic and olive oil. It’s lighter on the garlic, adds a bright note with the sun-dried tomatoes and swaps out the cheese for pecorino romano. Basil replaces parsley to complement the tomatoes. But it’s just as simple. Just as pure. Just as good.
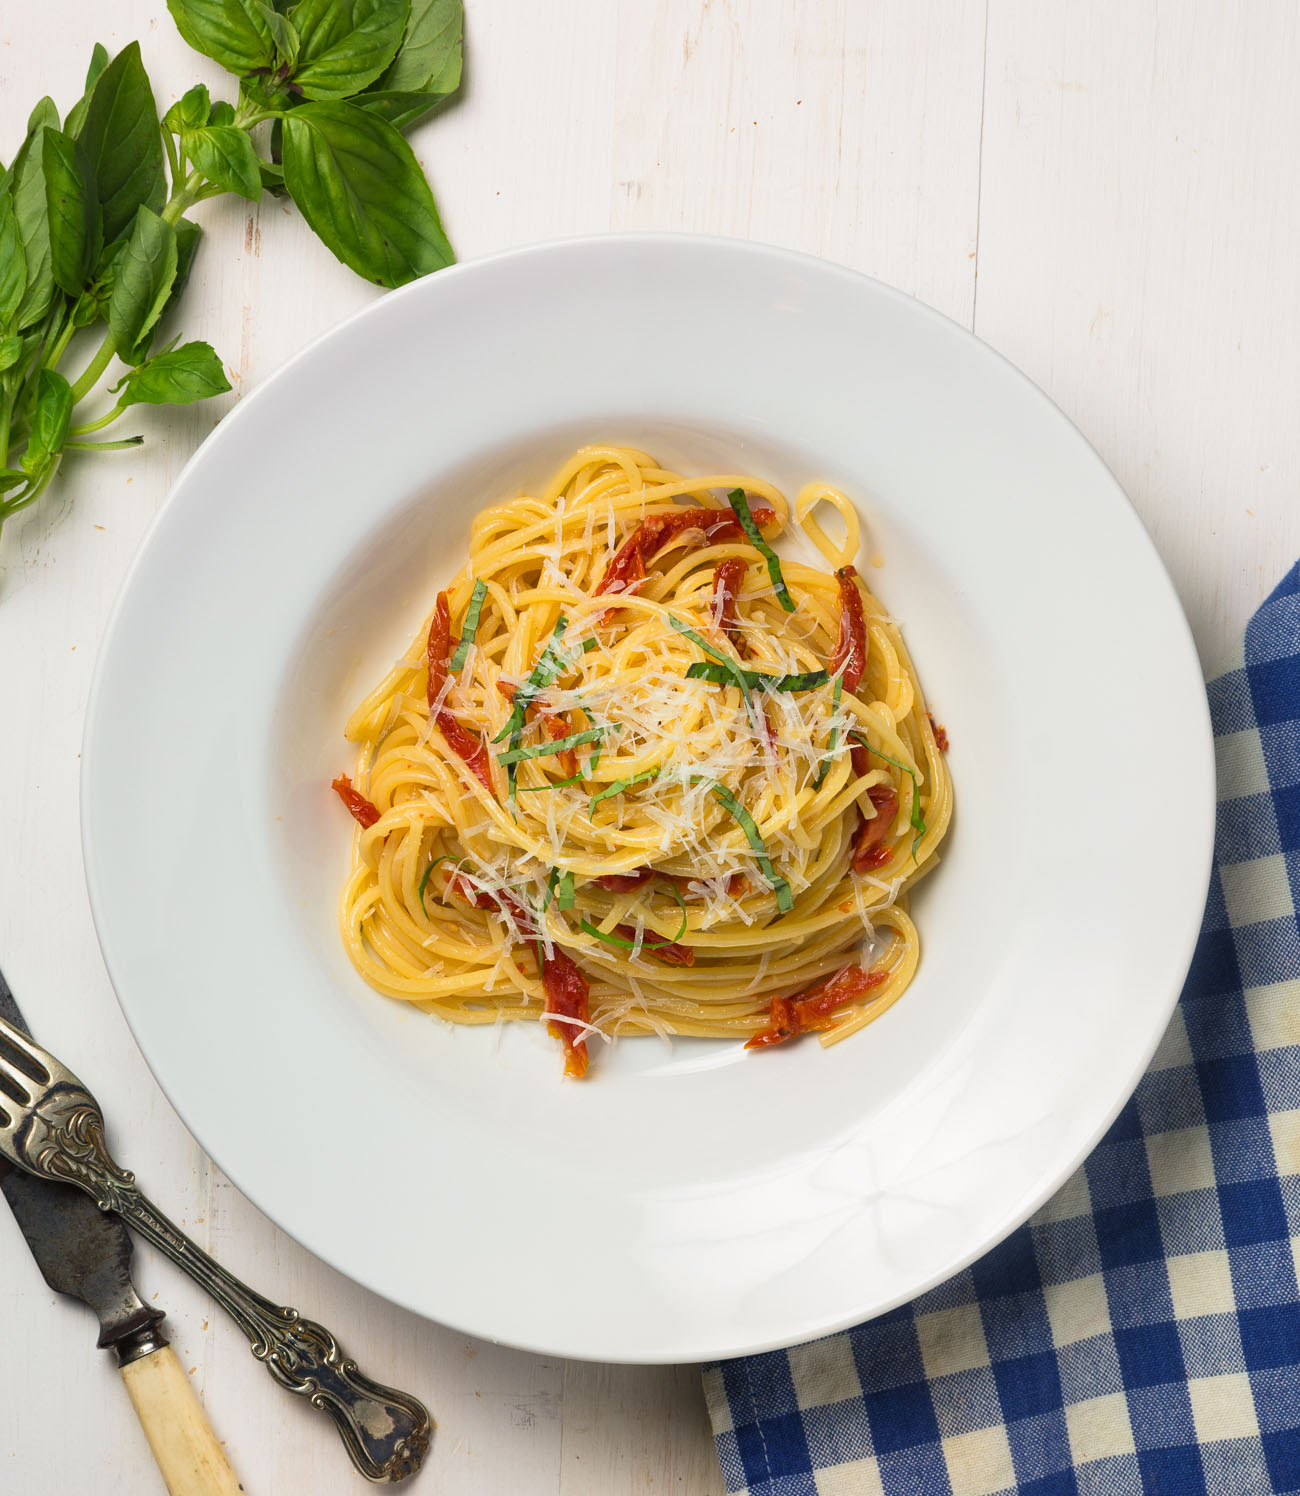
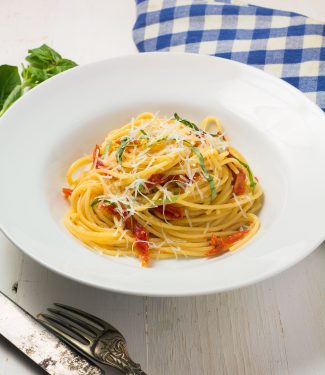
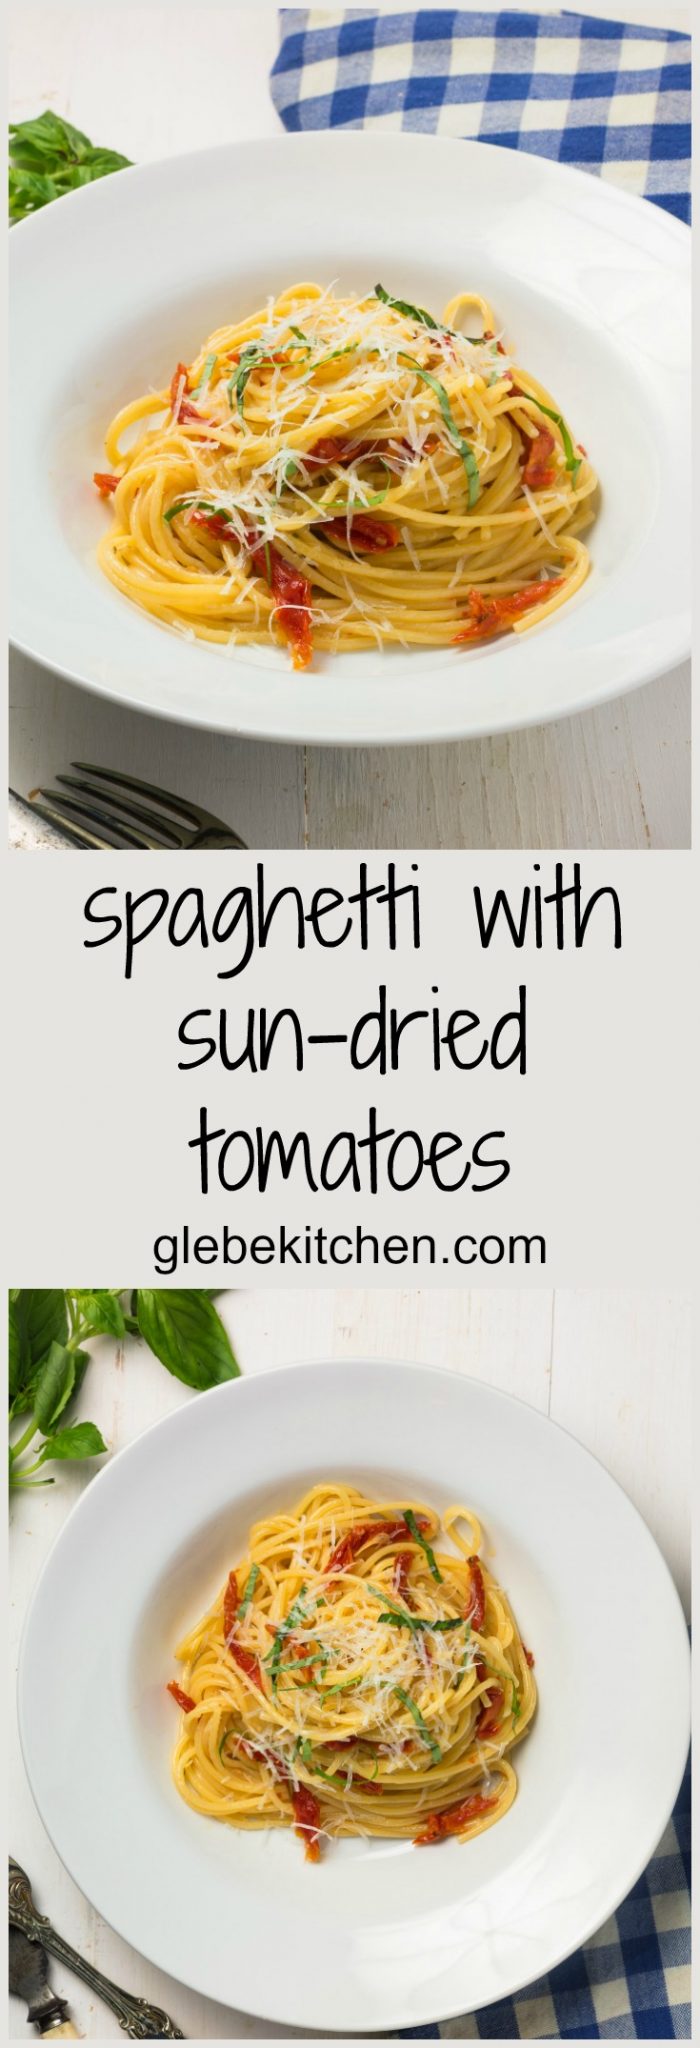
spaghetti with sun-dried tomatoes and pecorino romano
Ingredients
- 1 clove garlic very thinly sliced
- 1/4 cup good quality olive oil
- 6-8 sun-dried tomatoes in olive oil sliced lengthwise
- 1/2 cup grated pecorino romano plus a bit more to sprinkle
- 3-4 leaves fresh basil - julienned or torn into small pieces by hand
- crushed red chilies and fresh ground black pepper to taste
- 8 oz spaghetti - cooked in well salted water
Instructions
- Put a pot of well salted water on to boil. Well salted means it tastes like the sea. Don’t be scared. The salt goes down the drain.
- Cook the pasta according to the directions, but under cook by about 30 seconds. While the pasta cooks you can start the rest of the dish. Reserve about 1/2 cup of the pasta water.
- Place the olive oil and garlic in a cold skillet over low heat. Cook gently for about 5 minutes. You want to infuse the oil with garlic. You don’t want it to burn. If it does, start again.
- Toss in the sun-dried tomatoes and stir to spread the tomatoes over the full surface of the pan.
- Add the cooked pasta to the skillet along with a good pinch of chili flakes and toss to combine. Add the pasta water and increase the heat. Cook until the water is gone - about one minute.
- Stir in the pecorino romano.
- Serve, topped with a bit more pecorino romano, black pepper and more crushed chilies if you like a little extra zing. Sprinkle basil overtop.
Nutrition
I like my big green egg. I’m not a fanatic like some, mind you. But I do like it. It does a lot of stuff pretty well. Kamodos are the Swiss army knife of charcoal grills. They do everything pretty well. But they do one thing better than any other grill I know. The big green egg as a wood oven. That’s it’s wheelhouse. And nobody knows this. I don’t know why. It’s dead easy. You probably already have almost all the bits you need.

One thing to note and I’m putting it right up front so nobody yells at me. Putting your plate setter in your egg legs down puts it right at gasket height. High heat and a plate setter legs down equals fried gasket. Doesn’t bother me. I haven’t had much of a gasket for years. Just look at the picture below. I don’t think it’s that important. You have to decide for yourself though. But once you stop caring it opens things up nicely. Pizza gets a whole lot easier with this setup. No more burning the bottom before the top is done. Naan works great too. It doesn’t seem to affect the ability to run it low and slow either. Non-issue for me, anyway.
The setup here is for the big green egg specifically but I’m sure you can adapt it to any kamodo grill. On the BGE, the heat diffuser is called a plate setter. It can go in legs up or legs down. To use the big green egg as a wood oven you need the legs down. This lets you get the temperature up to where you need it. Now you want to create an air gap between the plate setter and the roasting pan. Grab your pizza stone and some fire brick splits or an extra set of BGE feet and you’re good to go. Put the feet or splits on the plate setter and place your pizza stone on those. Instant air gap.
And that’s it. Dial your egg in at whatever temp you feel like roasting at and treat it like you would your oven. Expect to be amazed by the wonderful kiss of smoke only cooking over charcoal can provide. Don’t feel the need to add wood chunks or chips. You are wood oven roasting, not smoking. Have a little faith. It will be awesome. The big green egg as a wood oven. It’s what it does absolutely best.

